Last year I was able to snatch a refurbished Thinkpad l15 Gen 2 from Lenovo for $200. Recently I noticed that the USB port on the right didn’t actually work. Upon further inspection I found the pins inside were sunken. After some attempts with tweezers to reposition them so they would come into contact with USB devices, I succeeded in mangling them even worse, insuring they would never work again.
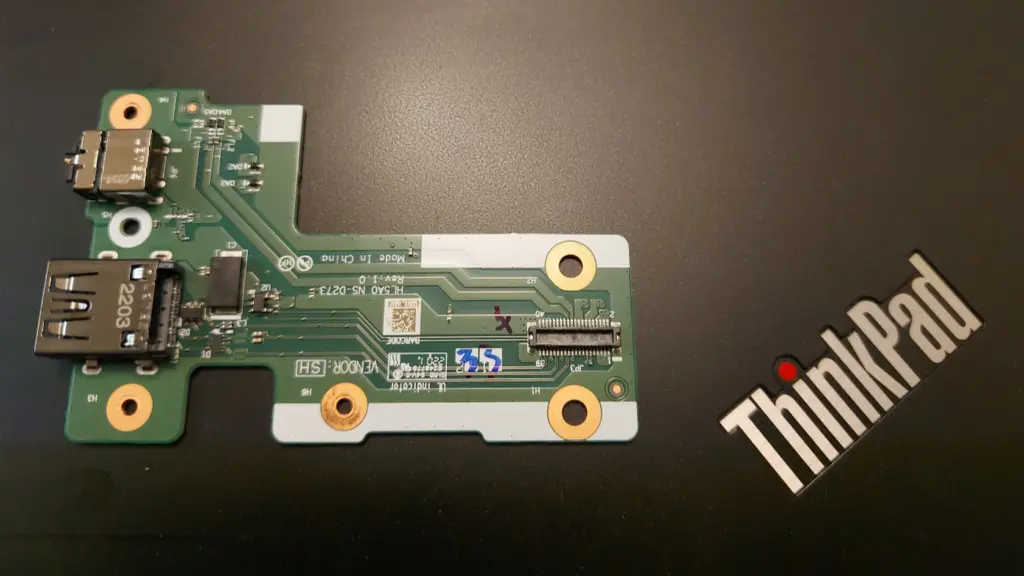
Fortunately, the damaged USB port was the on the right which is part of a USB and 3.5mm audio board, separate from the motherboard. Had it been on the other side, it would have required a motherboard replacement to get a working USB port again. After watching on Ebay for a good price, I was able to find a replacement USB Audio board for $8. For reference, the part number is 5C50S73039.
Installation
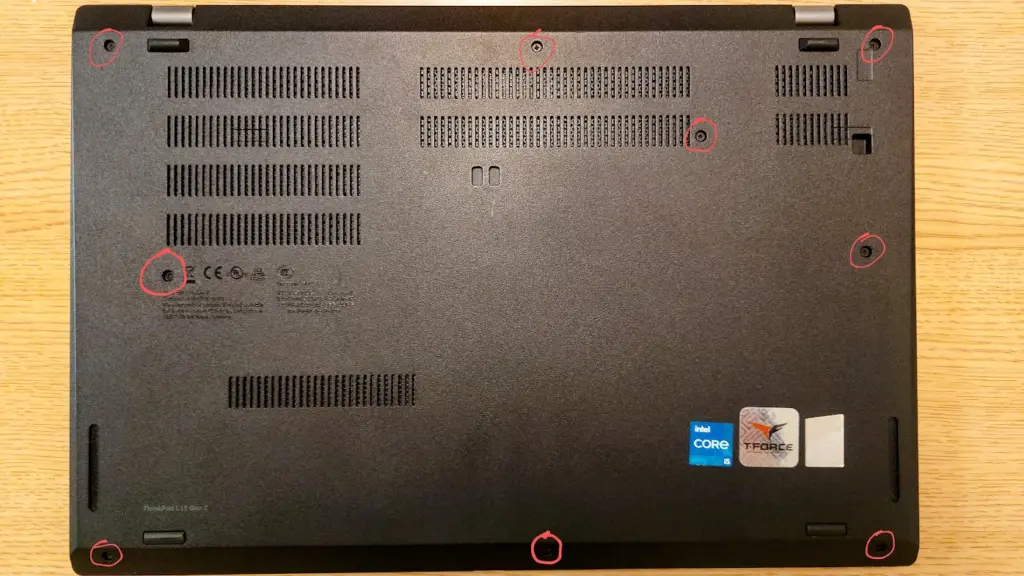
First, remove the bottom panel. There are 9 screws that need to be loosened. They will not come out completely, because the bottom panel holds onto them so they don’t get lost.
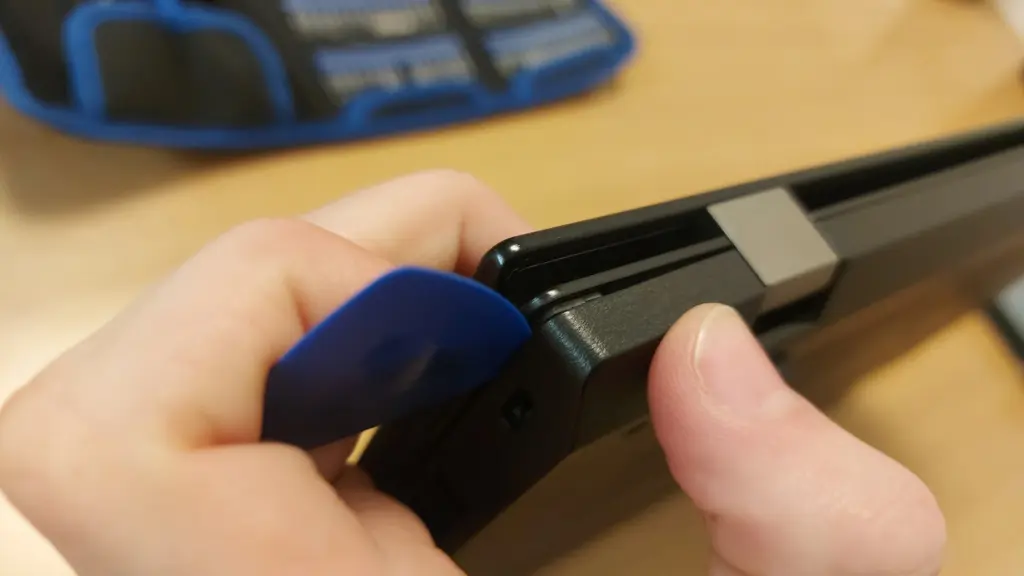
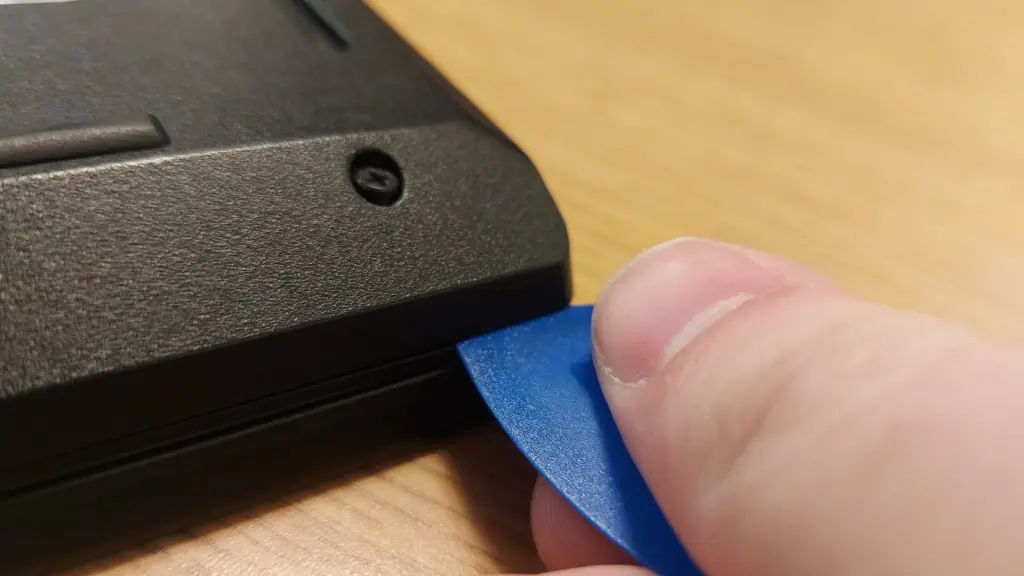
Once the screws are loosened, we need to pry open the hooks holding it onto the laptop. Insert a small, non-metal edge (a credit card could work) into the seam between the panel and laptop. Go around the entire perimeter of the laptop, gently popping it open. You should feel and hear a pop as each hook is undone. Make sure there is no micro sd card in the slot or you won’t be able to pry the panel off.
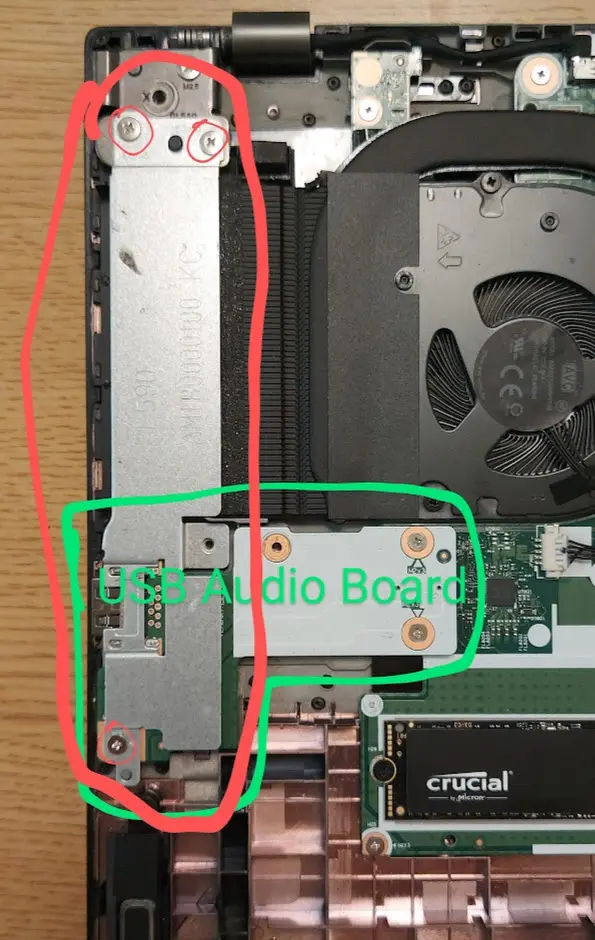
Once the panel is off, we need to remove the metal cover on the side. This is covering the USB Audio board. Mine had three screws holding it in. After removing the screws, the metal panel should come right off, revealing the USB Audio board.
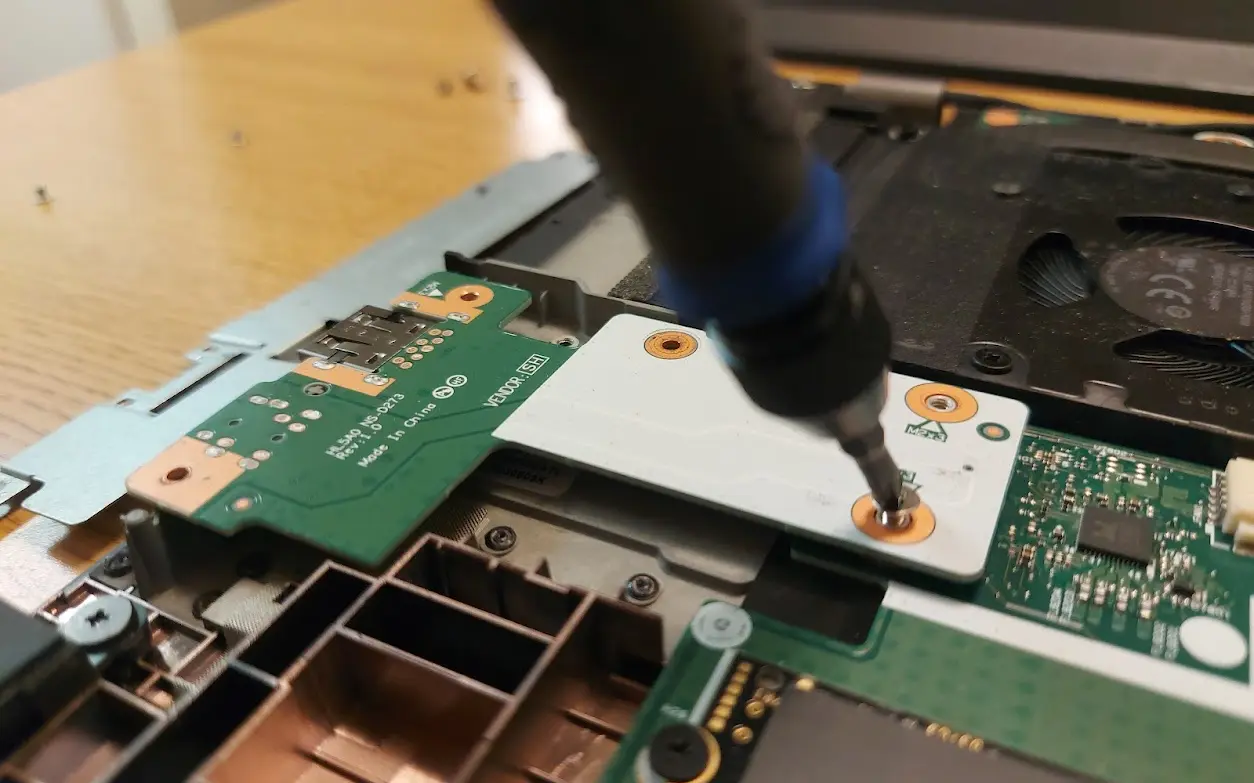
Remove the screws from the USB Audio Board (mine had only three screws again). Then you should be able to gently lift it straight up. It is plugged into the motherboard on the underside, so there will be a little bit of resistance.
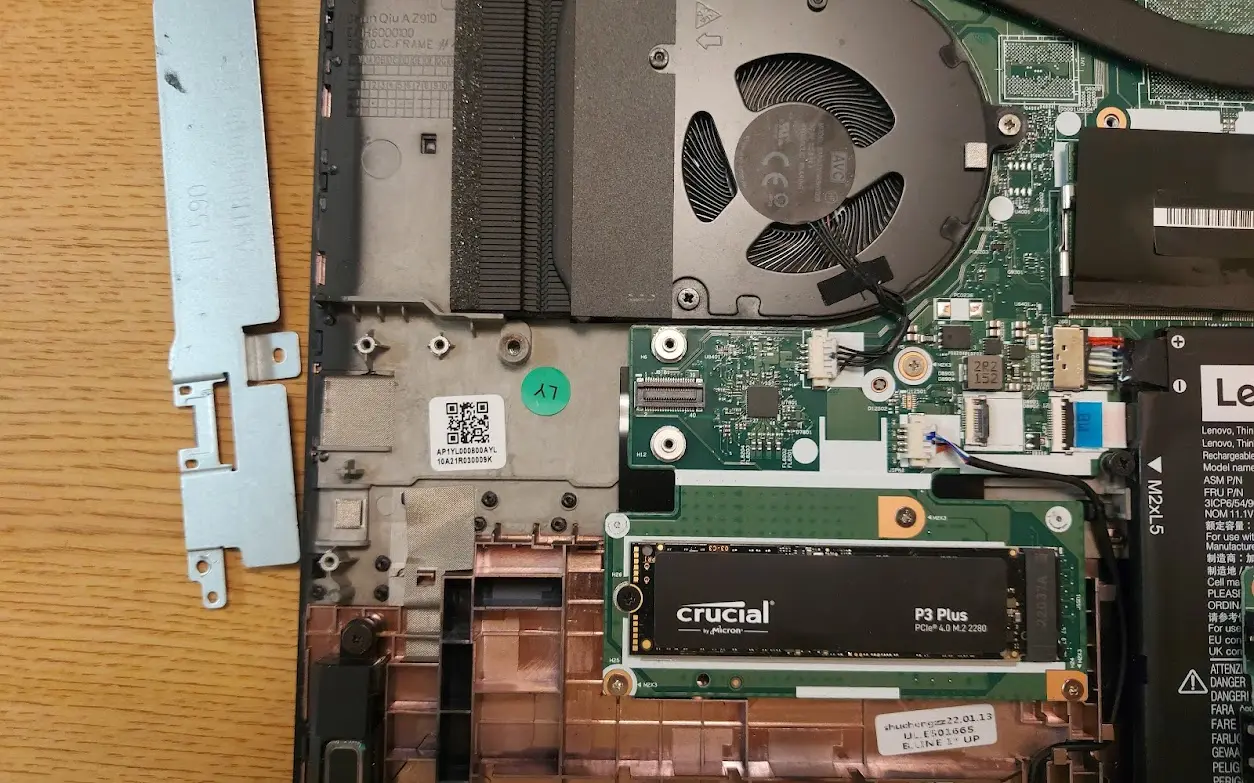
Removing the ScrewsThe Laptop with the USB Audio Board Removed
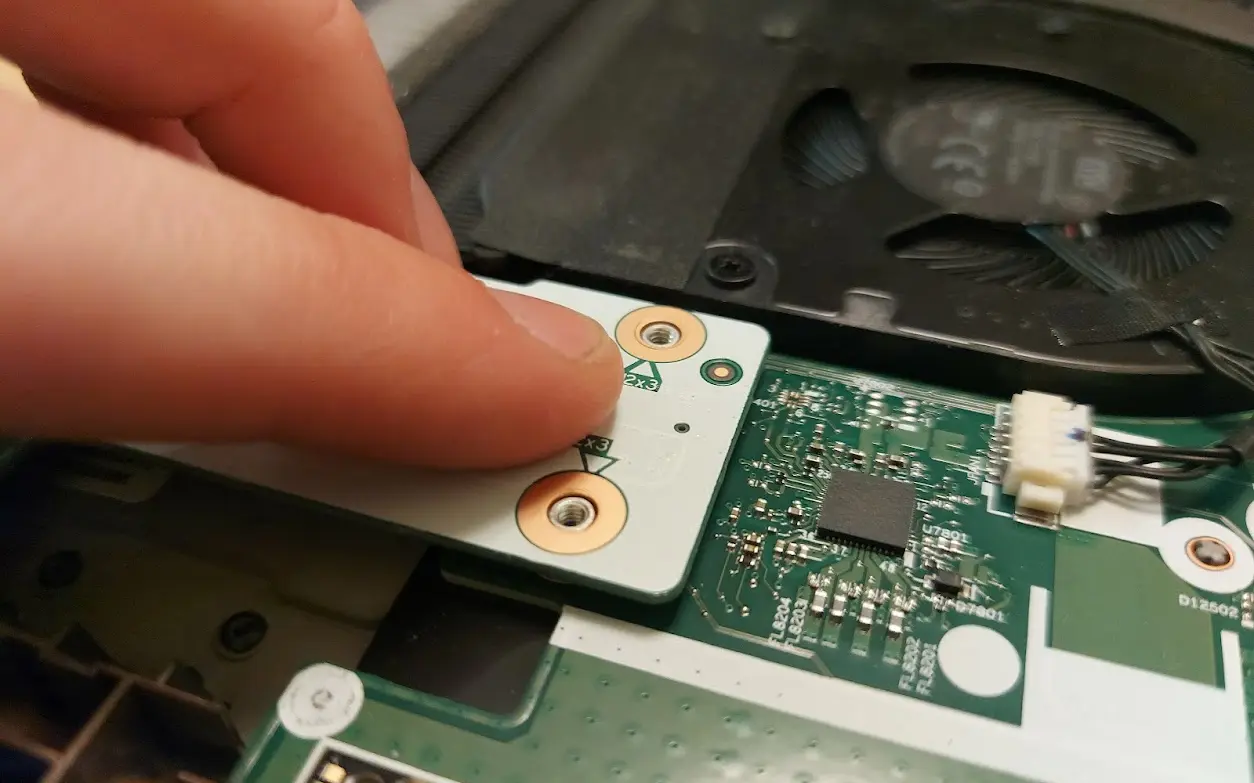
Put the new board into the laptop, using the screw holes as guides to position it correctly. Push the end firmly down to plug it into the motherboard.
Pushing the Side to Plug it in
Screw the USB Audio Board back in, then the metal plate, and then finally gently press the bottom panel back onto the laptop and re-tighten all of the screws. If done correctly, the new USB and 3.5 mm ports should be fully operational.
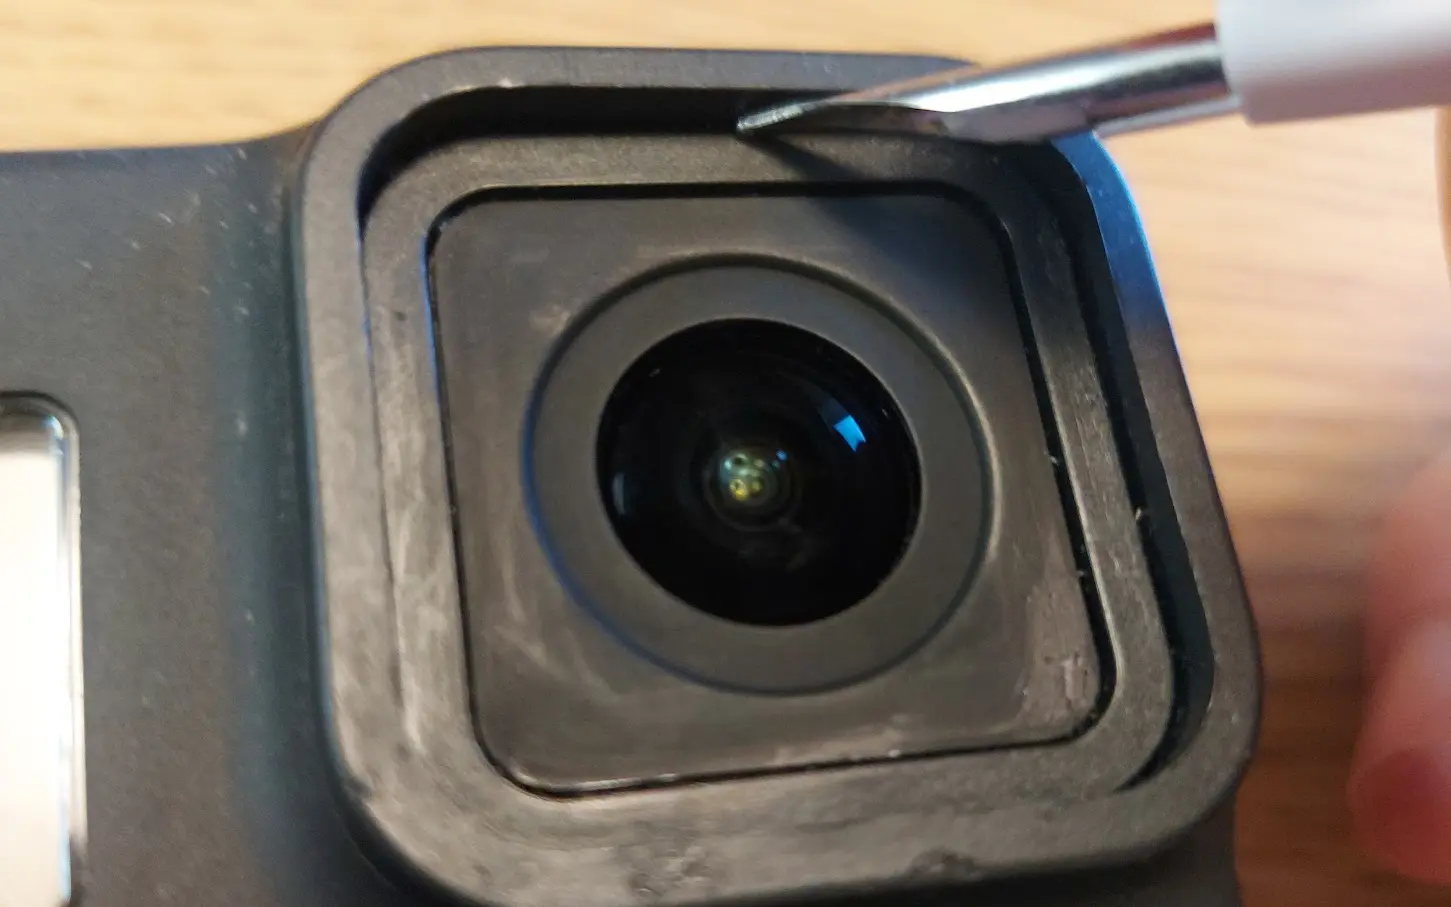
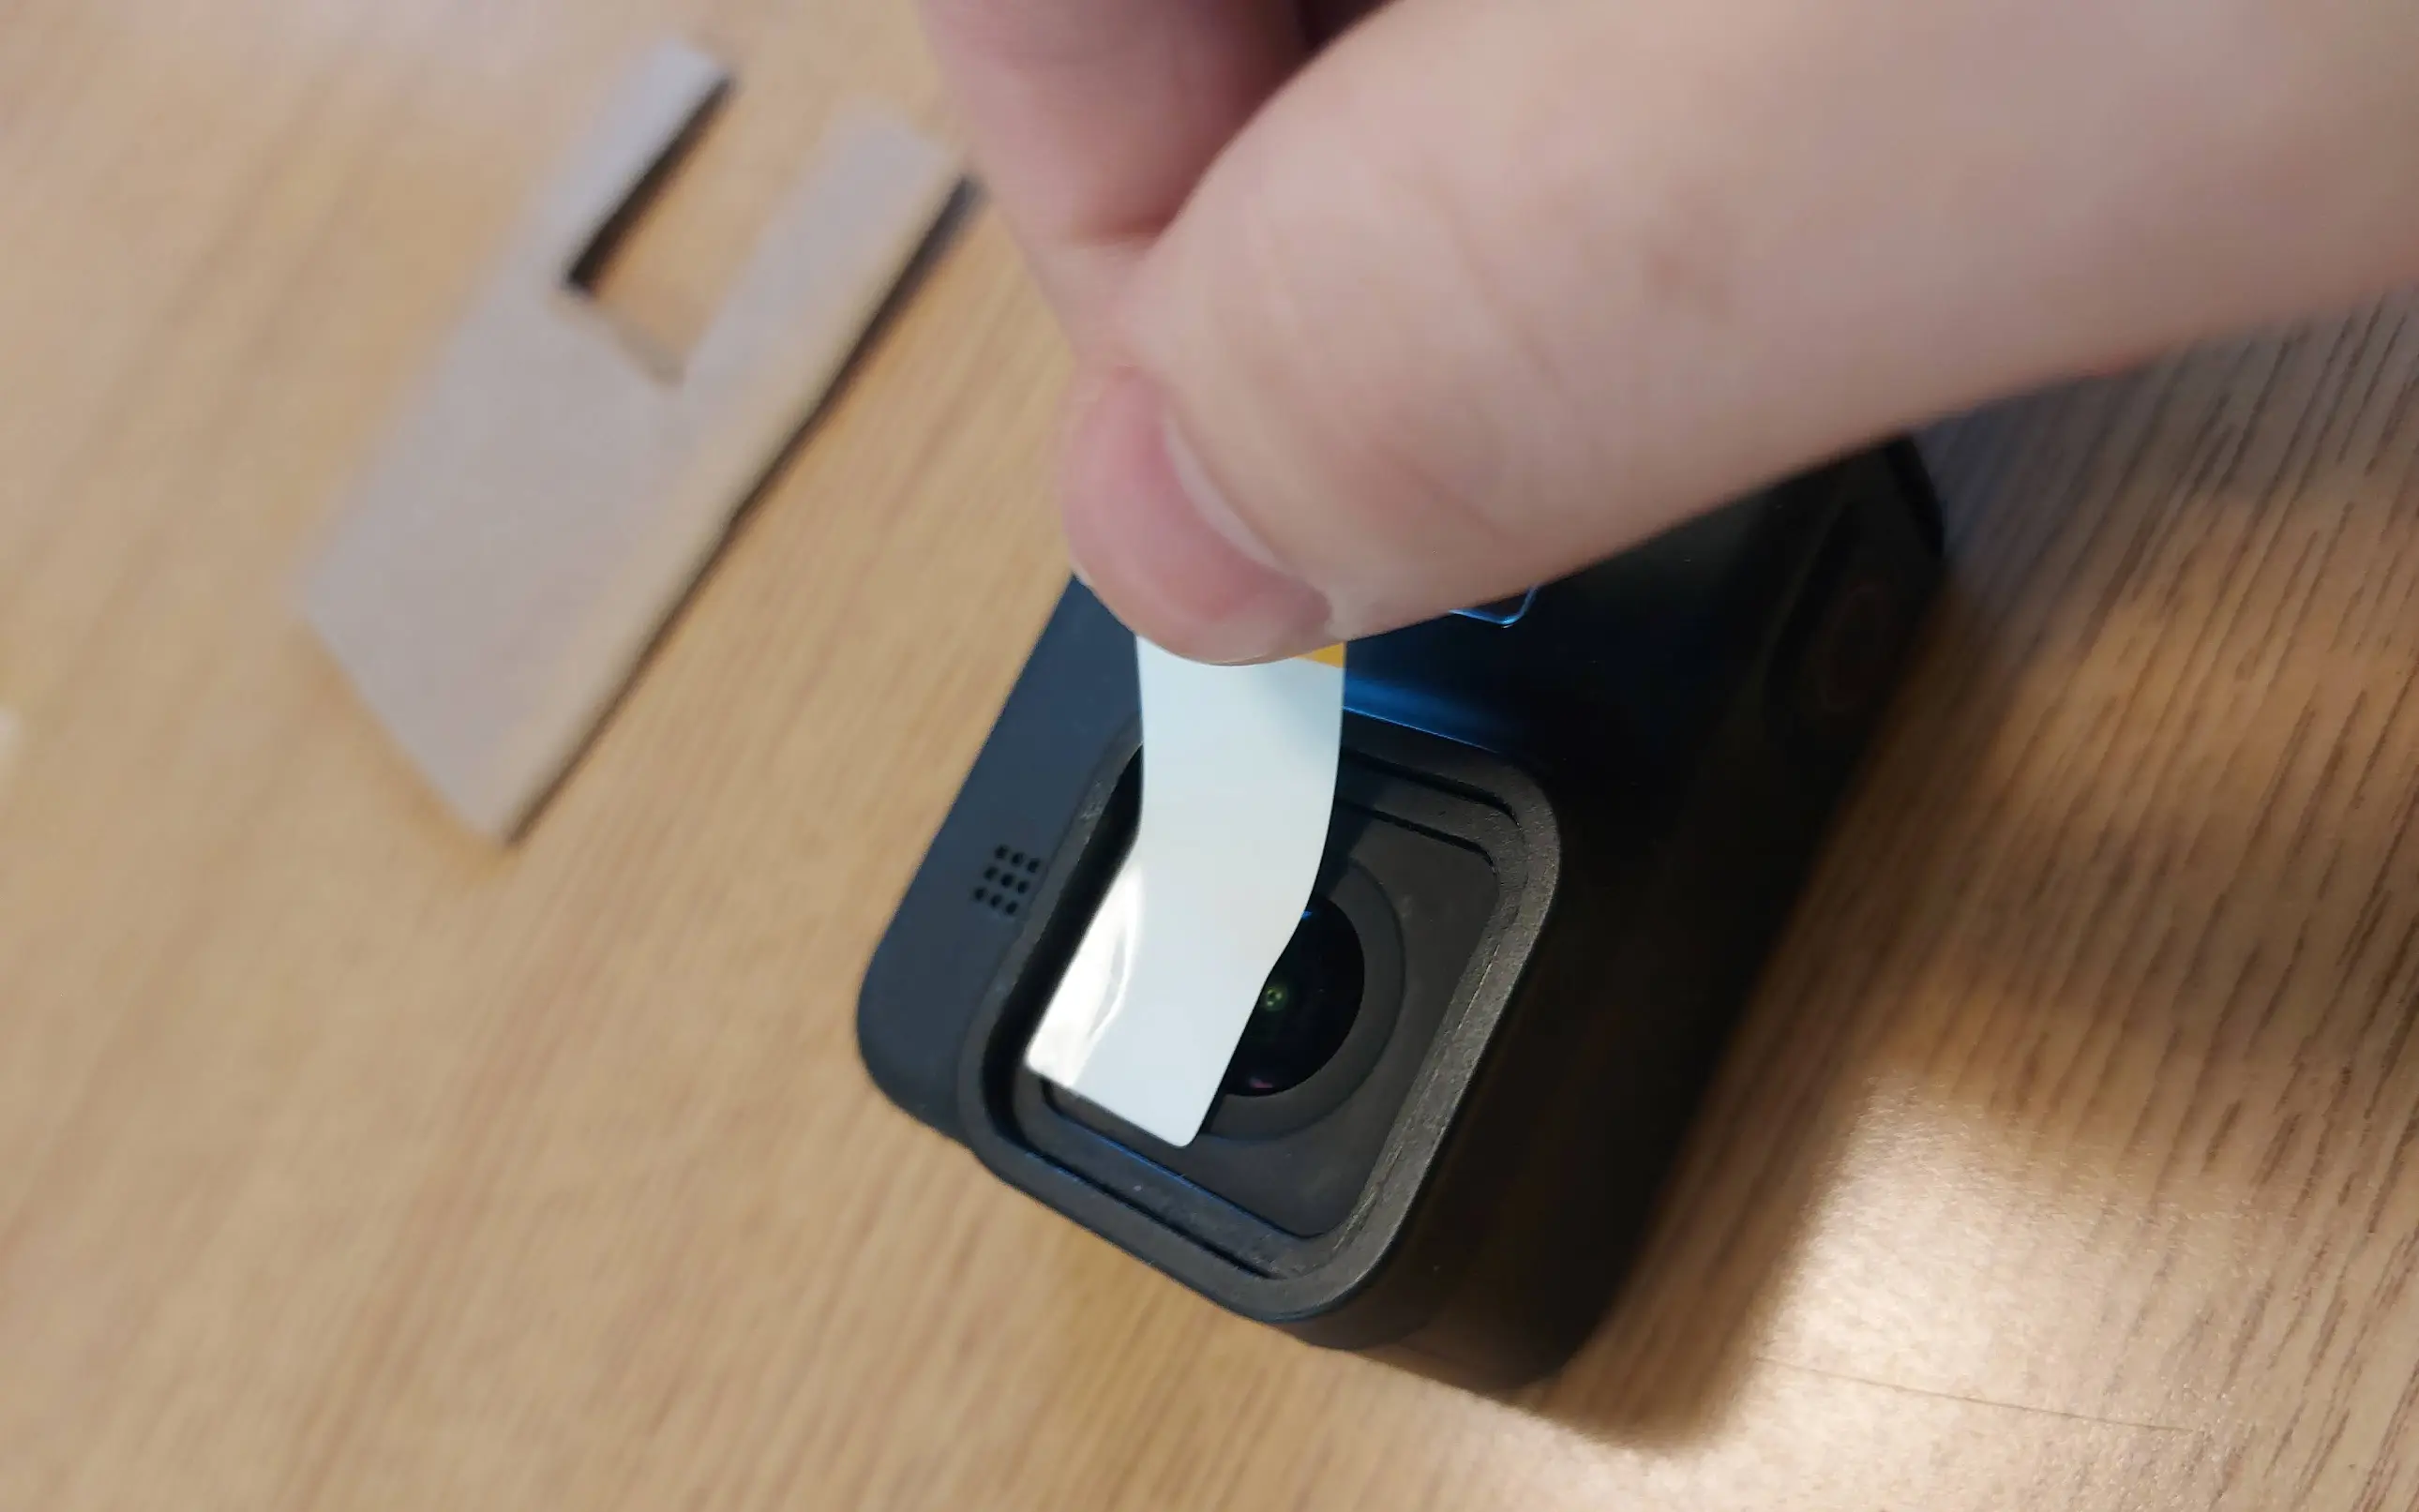
Now the first thing you want to do, is find a GoPro stand not out in the open. Take a thin strip of metal and stick it into the crack between the glass and…
Research
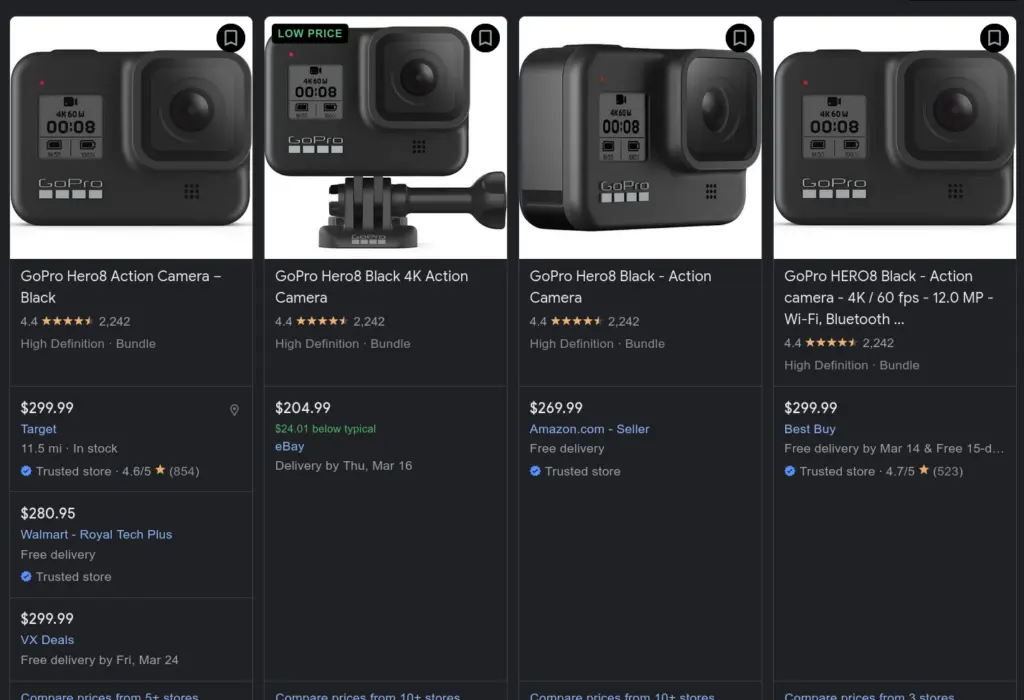
GoPro cameras are pretty nice, but they are also pretty expensive. Even buying older, refurbished models will still set you back a couple hundred dollars. This is the story of how I obtained one significantly cheaper than normal. (And also how to fix broken protective glass on the Hero 8)
My target in this endeavor was the GoPro Hero 8 for a couple of specific reasons which I will cover. At the time of this writing, buying a Hero 8 is still over $200. In the end I ended up paying about $110 for one.
The GoPro Hero 8 stands out from the other GoPro Hero models because it does not have a removable protective cover for the lens. This is normally considered the major downside of the Hero 8. Once it is cracked, most consider it a paperweight. GoPro themselves will not do repairs on Hero 8’s with cracked protective glass. Fortunately, this fact proved beneficial to me because is it is actually very easy to repair and relatively cheap.
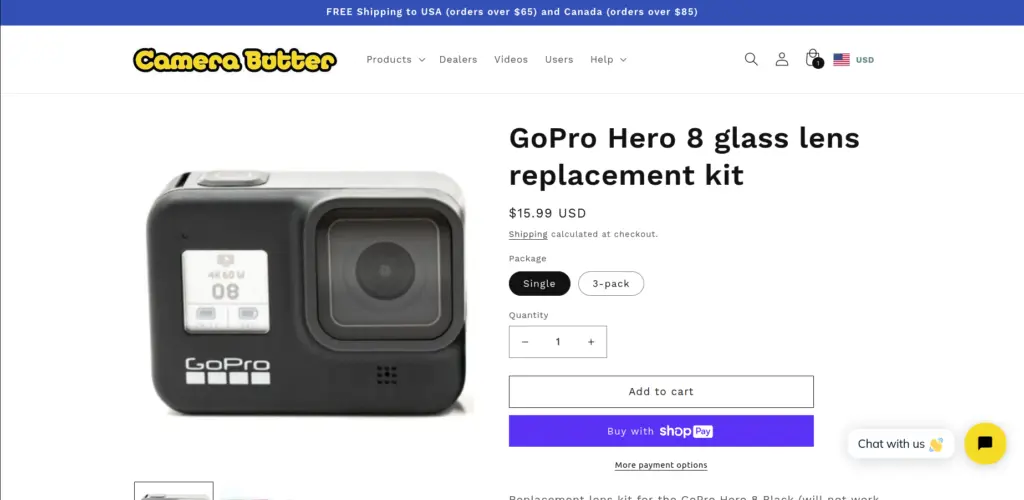
While, GoPro does not sell protective glass covers for the lens, Camera Butter, a company in British Columbia, manufactures such a glass cover. From appearances and my limited research, it appears to be on par with the original protective cover. It is made of Corning Gorilla glass and the company owner claims in this Reddit post, that the adhesive is the same as the original.
Having identified the method of repair, I started to search the internet to find a “broken” GoPro Hero 8. Luckily, I was able to find one from a camera rental company fairly quickly. The description noted that its protective lens cover was completely shattered, ruining the functionality of the camera. I ended up purchasing this one despite it being more pricy, because it had a 30-day return period and the company was a lot more reliable than Ebay sellers.
The total cost including shipping was about $110, but I was able to find a good promo code online that knocked it down to about $90. The camera came in its original packaging and included the normal accessories and charging cable. The camera plus the lens brought the total cost up to just under $110.
Repair
The first thing to do was remove the old broken glass and adhesive residue from the camera. This camera was so badly damaged, that the protective glass was already pretty broken off, so I could remove it easily.
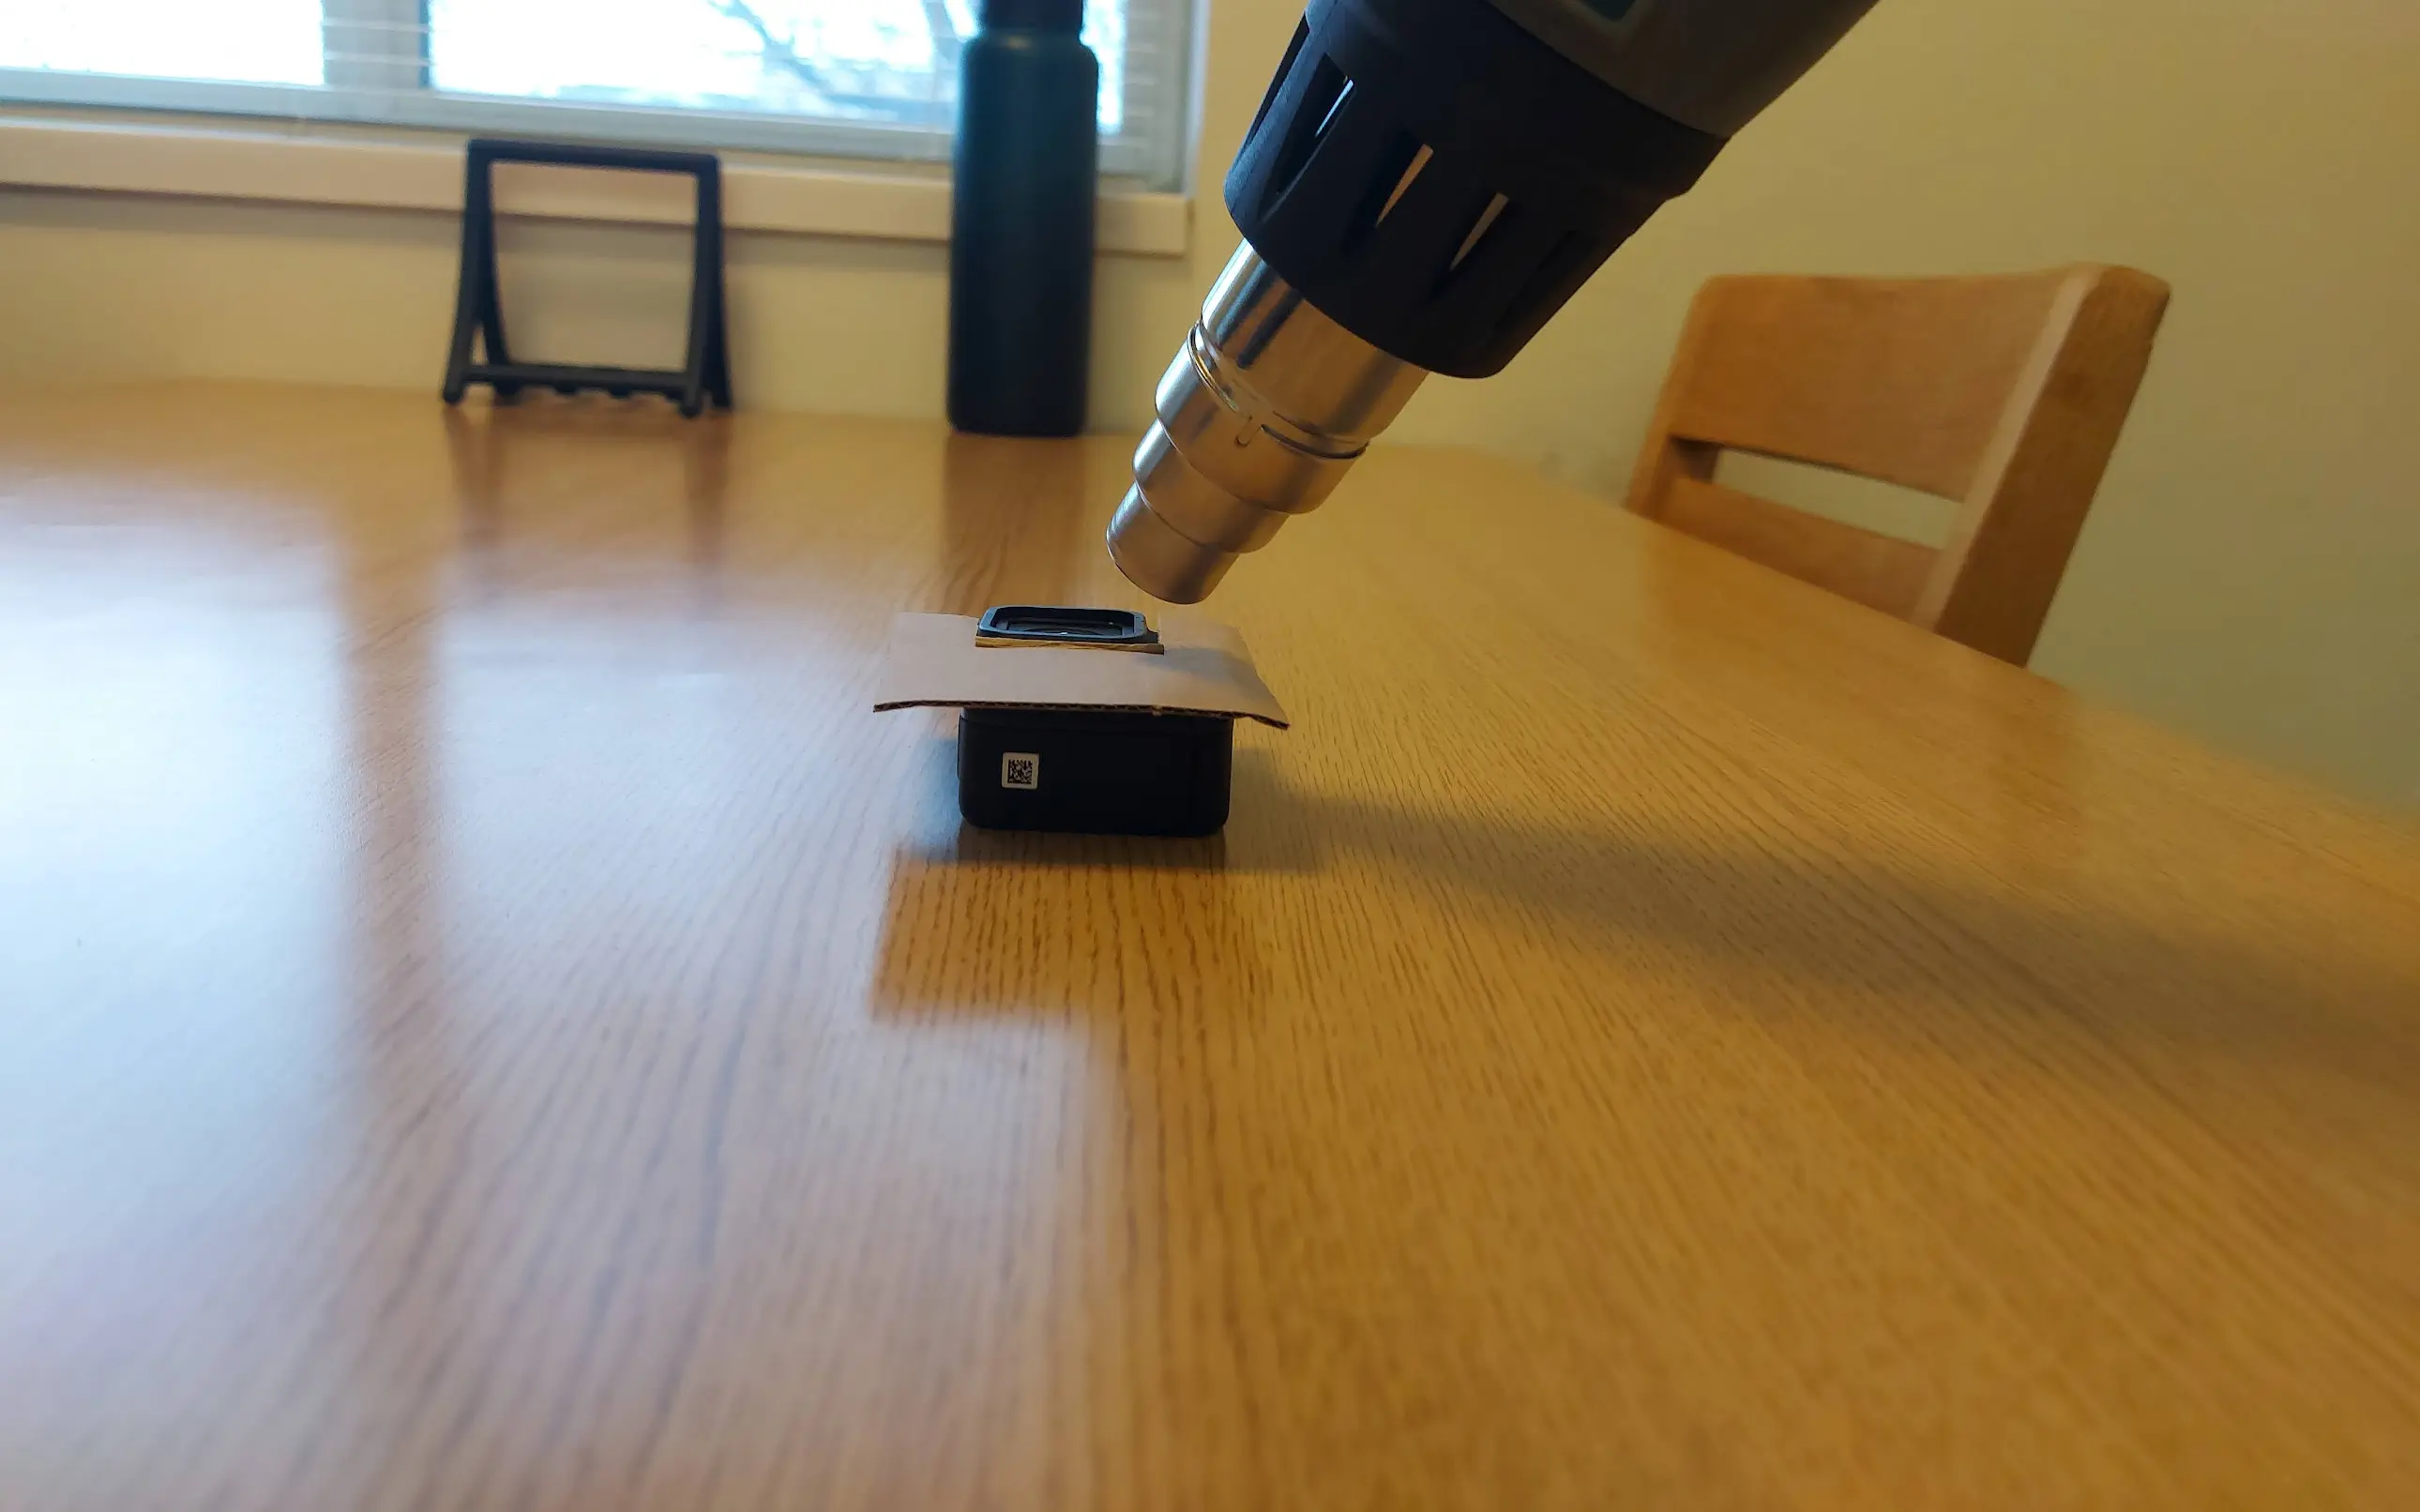
If the damaged lens cover is still fairly intact you can get it to come off by heating the adhesive up using a heat gun or hair dryer. Camera Butter has an instructional video and it is also demonstrated in this youtube video. You just have to heat it up for about a minute and a half and it will loosen up enough to let you pry it off.
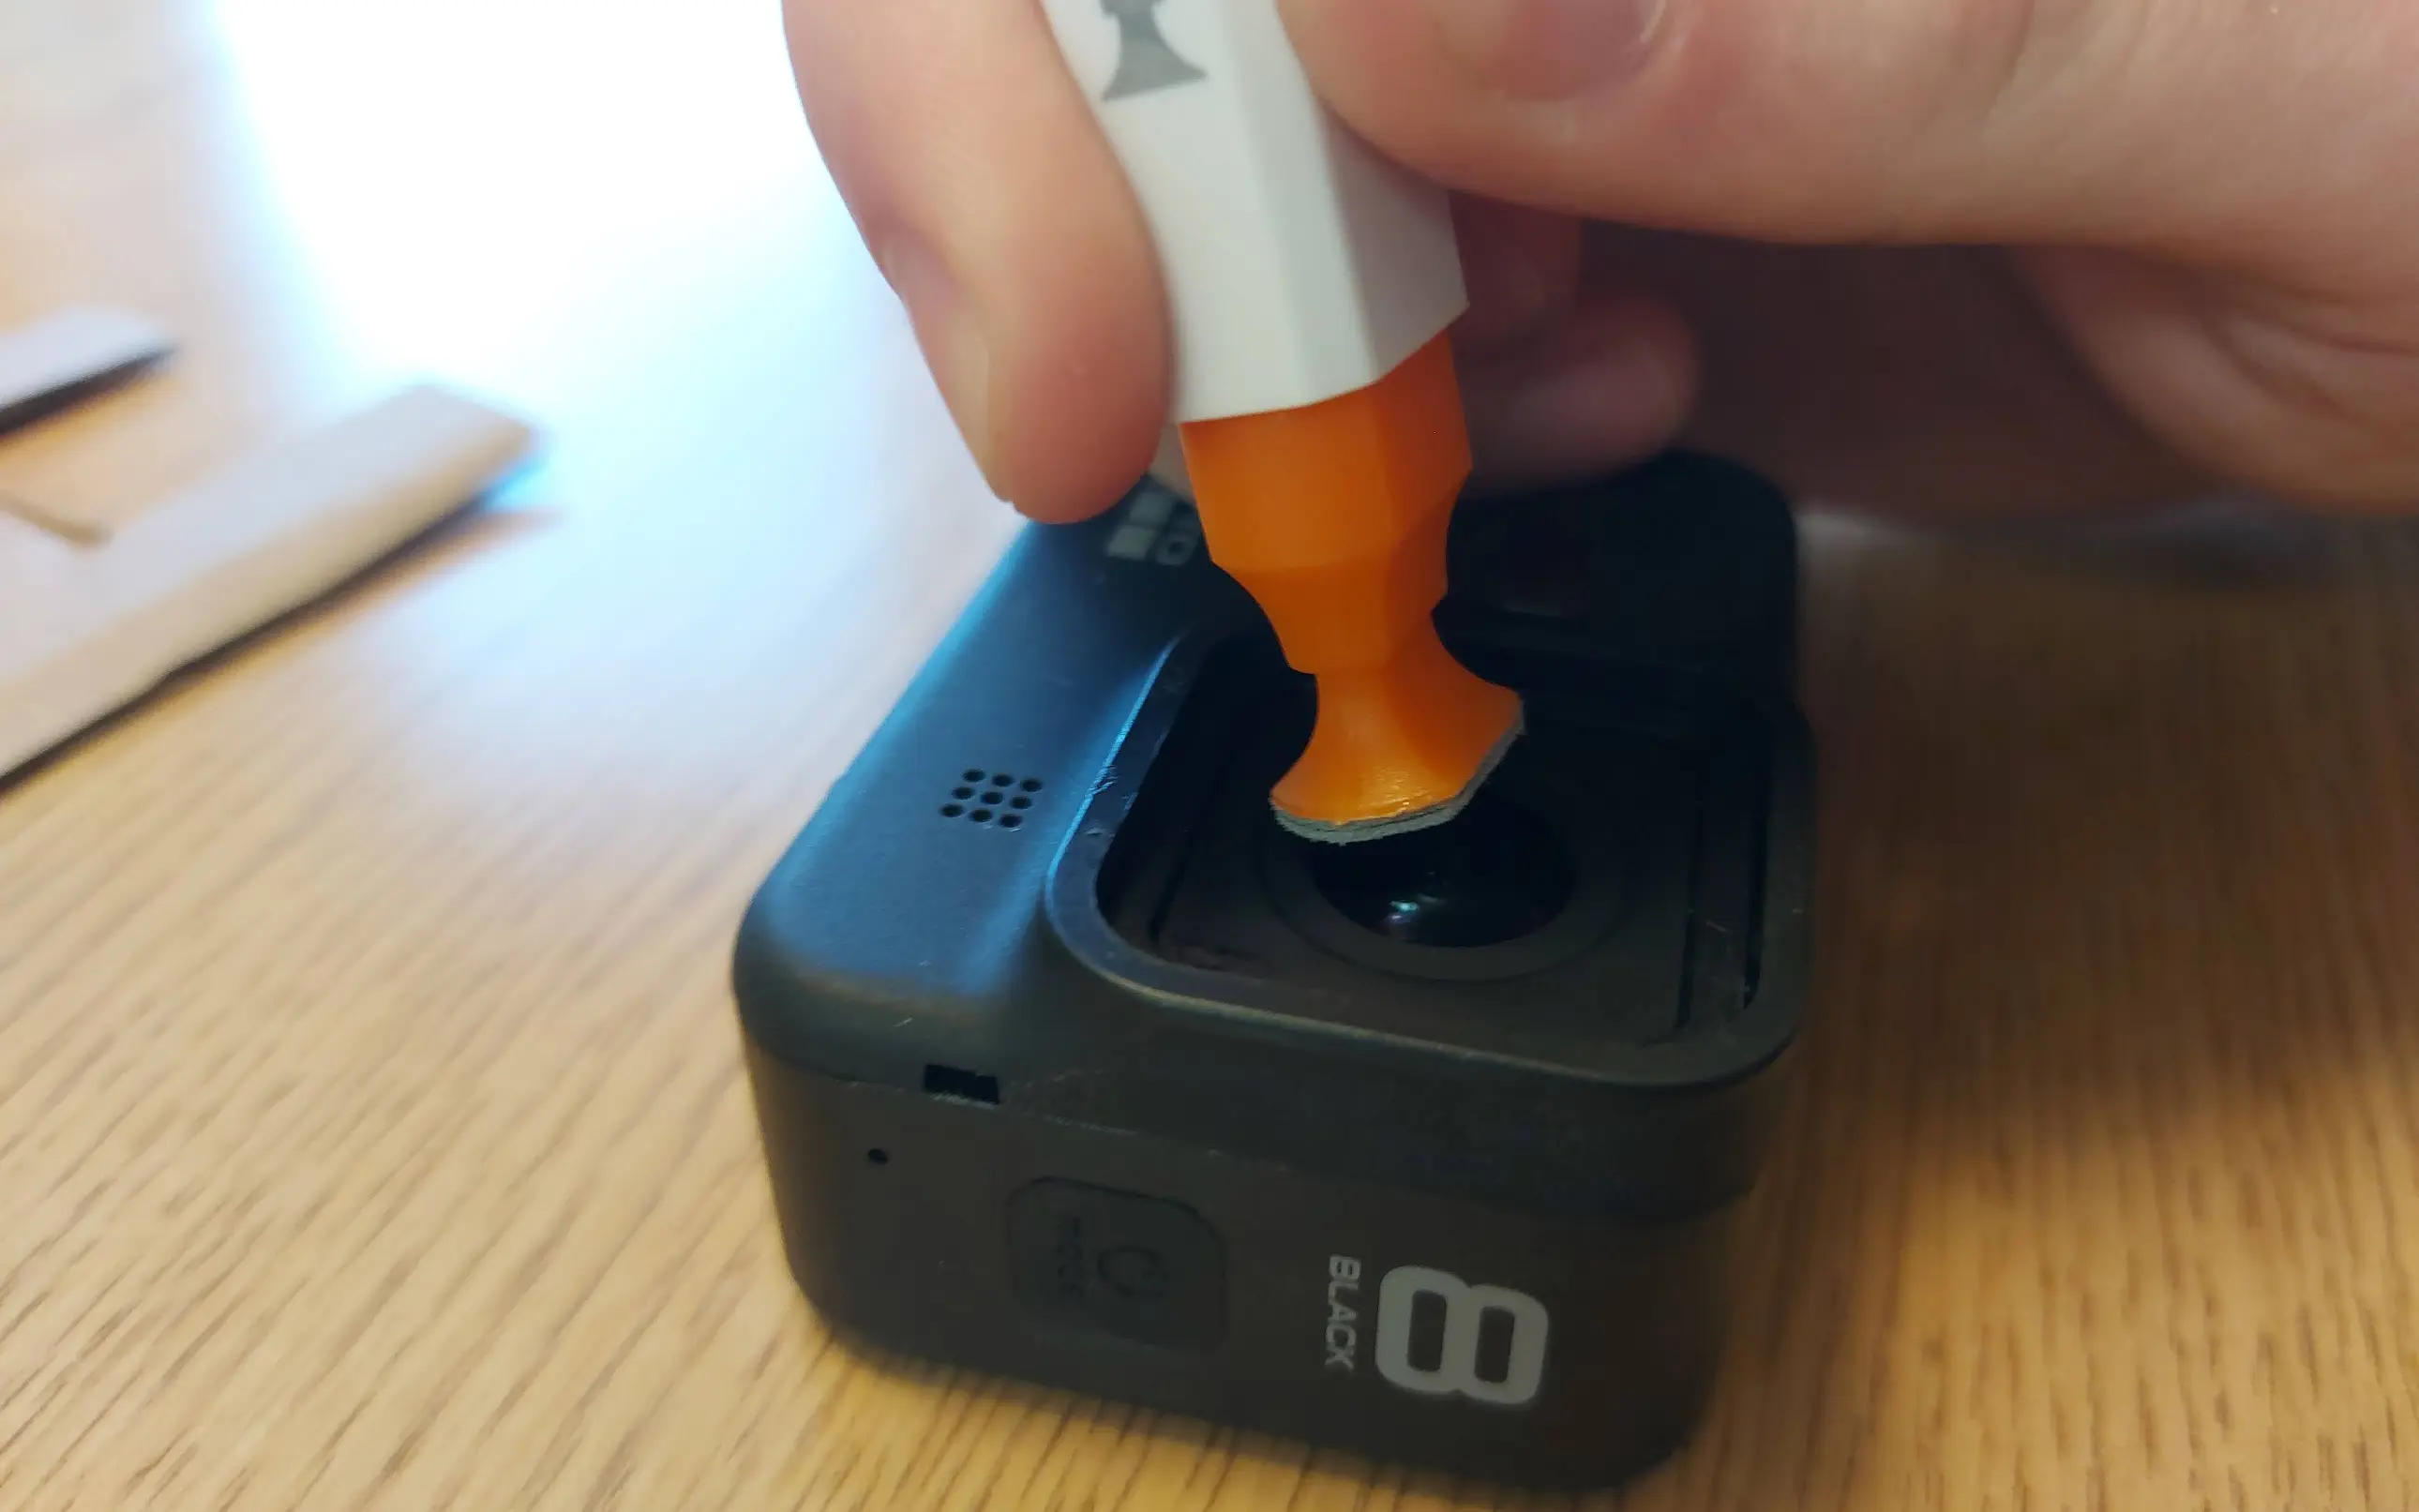
I removed the residue using a metal pen-like tip to scrape it off of the edges of the lens compartment.
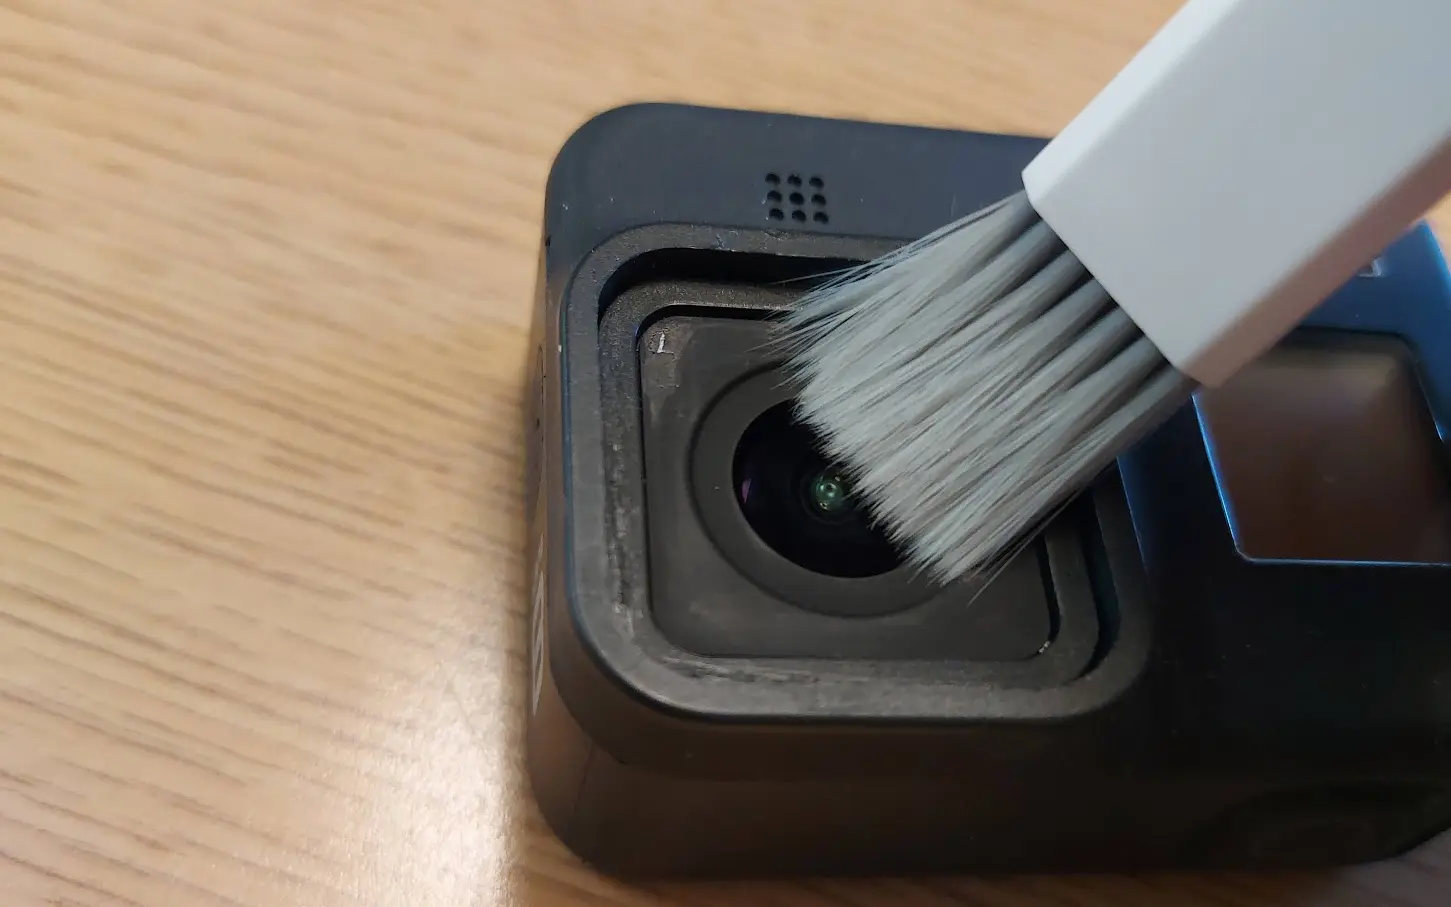
After removing that, there was a fair amount of glass dust and particles lingering on the lens as well as some scuffs. I used a soft brush to kick up the dust out of the cracks in conjunction with a lens pen to buff out the scuffs on the lens.
Brushing Up the Dust
A lot of dust had accumulated in the crack between the edge of the lens and the camera housing, but the brush was able to clean up those cracks nicely.
Using the Lens Pen
I then wiped it down using the cleaning wet and dry wipes that come with the Camera Butter lens kit. After that, I used some dust-removal stickers from an old phone screen protector to get any last remaining particles off of the lens area.
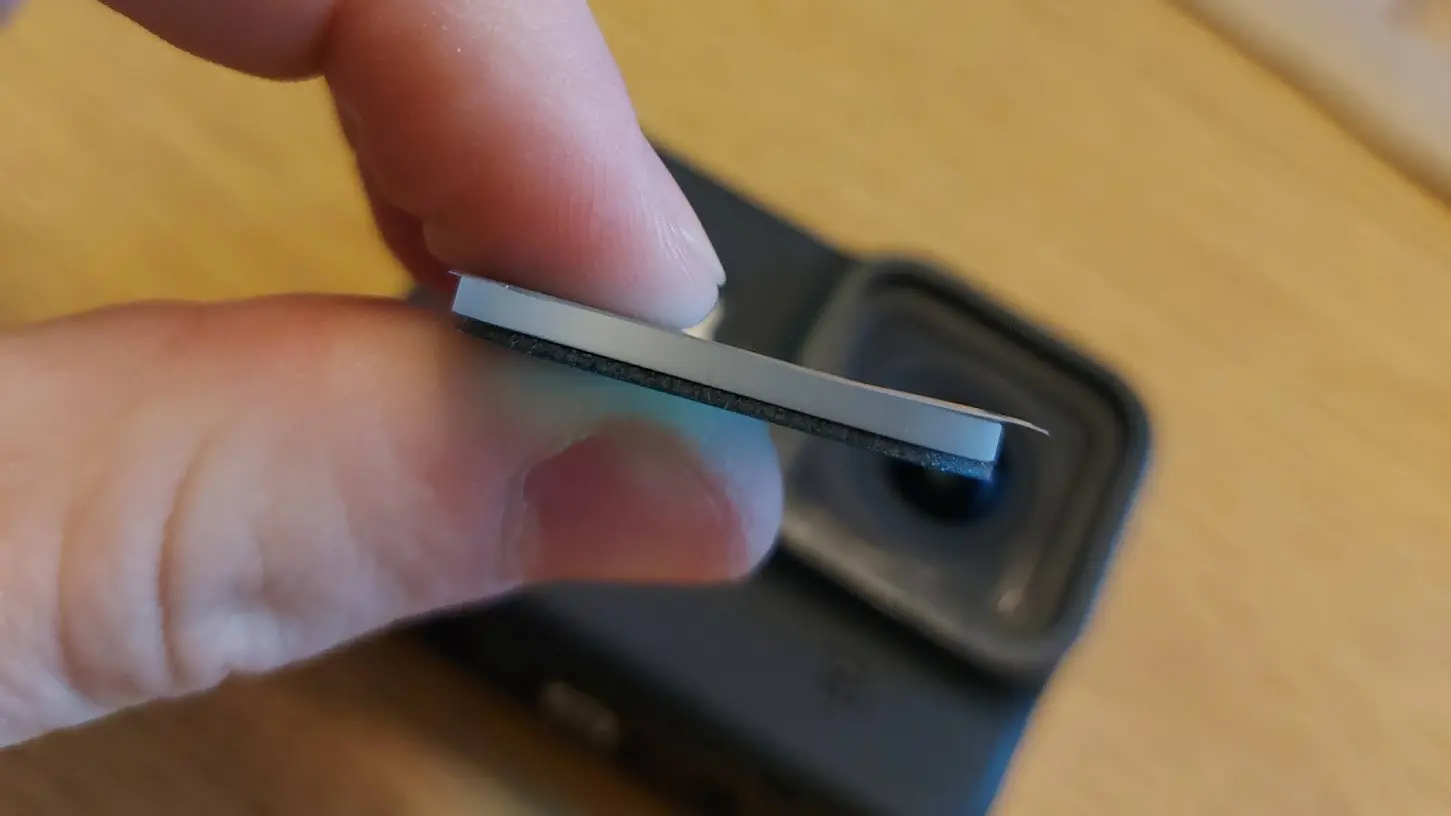
Finally, the camera was ready for a new lens protector. The gorilla glass to be installed is 1mm thick, which doesn’t sound like a lot, but is actually pretty thick when you look at it from the side. The black edge is the thickness of the adhesive used to adhere the glass to the camera.
The Lens Protector from the Side
Using two more dust-removal stickers, I positioned the glass over the camera body and then lowered it straight down, firmly pressing the sides in. It was a perfect fit and stuck fast to the surface of the camera. With how thick the glass is, you could also easily grip the sides and slip it into position without the aid of the dust-removal stickers.
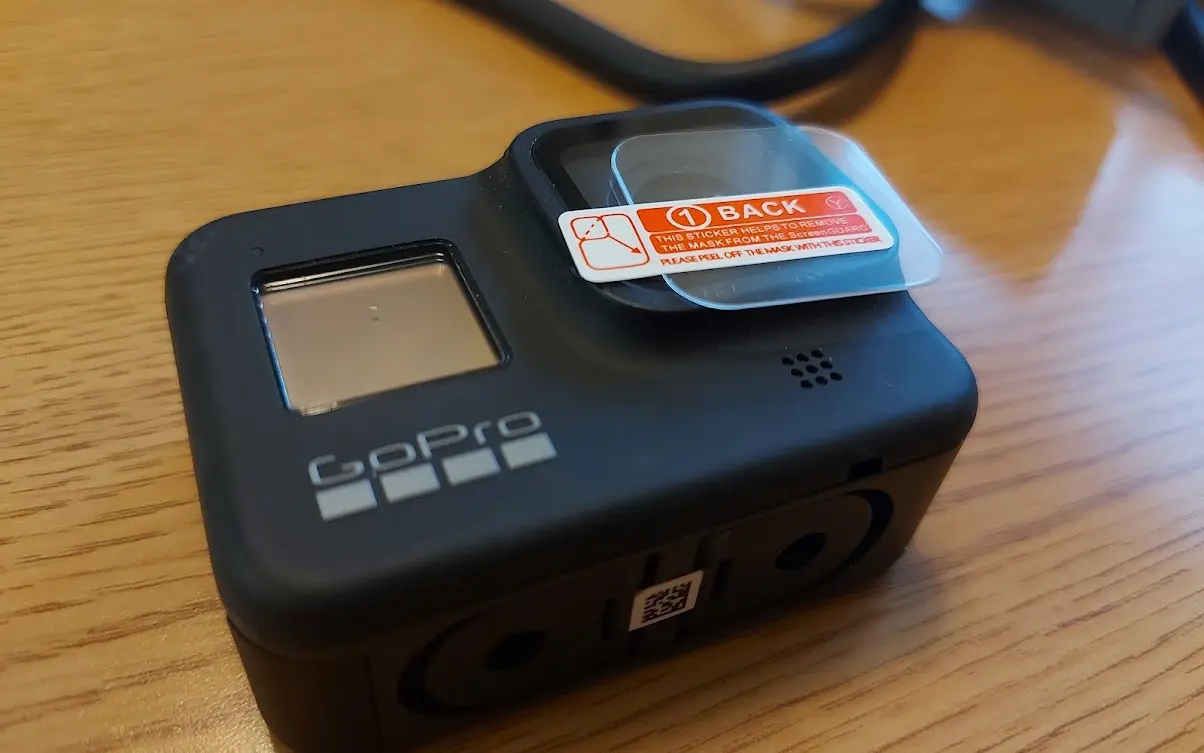
Having seen a decent amount of evidence that the lens protection glass can break, I installed a screen protector on the GoPro much like you would on your phone screen or camera.
Result
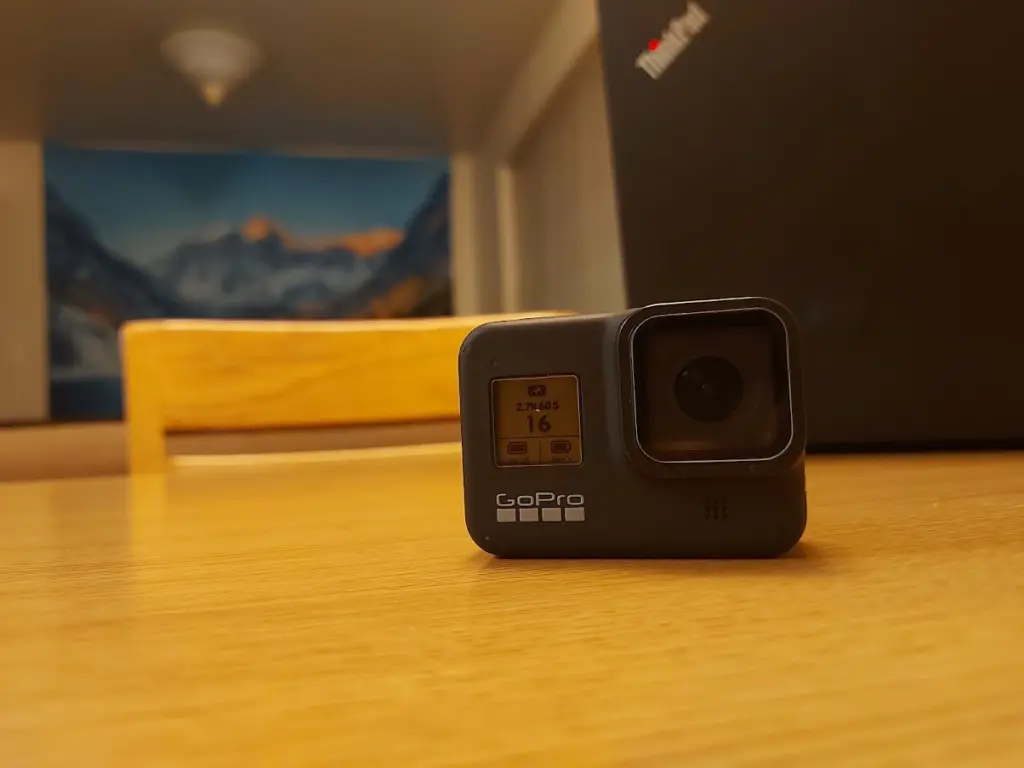
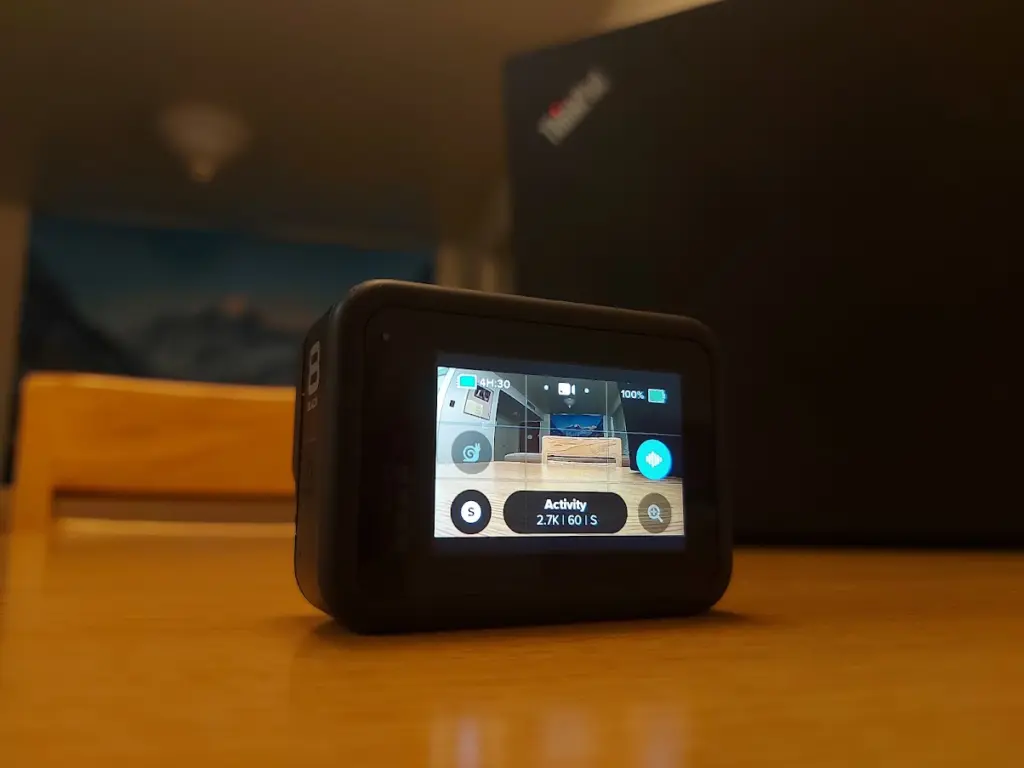
In the end, I ended up with a completely intact and functioning GoPro. Other than the smashed lens cover, everything else on this camera was in good condition. Both screens are flawless and the camera functions operate well.
In this case, it was a success, but it is important to remember that a GoPro that has had its lens broken, probably received a substantial hit and might have other unseen damage. It is important to keep this in mind when looking for one that might be repairable. Before I bought this specific one, I emailed the business and asked them to verify that everything else on the camera was working before I bought it.
At the moment, I am not doing anything I would use the GoPro for, so I have yet to rigorously test it. However, from my limited usage of it, the quality seems good and I am excited to see what it can do.